For many decades, bicycle tires have come with inner tubes inside their tires. But about 20 years ago manufacturers like Mavic started experimenting with running tires without tubes. And then in 2001 Stan Koziatek of NoTubes fame developed a system for converting regular mountain bike tires to tubeless. And although tubes are still the most popular method for tire inflation, more and more bike companies are jumping on the tubeless bandwagon. In fact, Giant has started supplying every bike over $800 with a tubeless setup.
So, what are the benefits of tubeless tires on a bicycle? What are the costs? Are there any drawbacks? What do you need to run tubeless tires? Can you run any tire tubeless on any rim? I’ll answer those questions in today’s blog.
I’ve been running tubeless on my mountain bikes since 2004 when I first learned of them, so I jumped on the bandwagon pretty early. And I haven’t jumped off, yet, having now run almost every bike I own tubeless. There are a lot of benefits to running tubeless. You save a little bit of weight, since there is no tube inside the tire. It’s only a little, as you gain some of that weight back using the sealant to make the tire run tubeless (although if you run sealant in your tubes, then you’re saving the whole weight of the tube). Losing weight at the tire is the best place to lose weight on the bike because it is rotational weight. The less rotational weight, the easier it is to accelerate. Another benefit is that there is a lot less chance of pinch flatting, since there is no tube to pinch (although I have actually hit tires hard enough to pinch the tire itself!). And since there is less chance of pinch flatting, you can run lower pressure in your tires. Lower pressure gives you couple of nice benefits: a more comfortable ride and better traction. And since there is no tube adding mass under the sidewall and tread of the tire, the tire tends to be more supple, making for an even better ride–more comfort and more traction. And the sealant works better sealing a tire than sealing a tube (since it’s thicker than the tube and really gives the sealant purchase). Lower weight and more supple tires also tends reduce rolling resistance, so you can go faster with less effort.
To recap, the main benefits of running tubeless tires:
- Less rotational weight
- Lower chance of pinch flatting
- Can run lower pressures for more comfort and traction
- More supple tires
- Better sealing properties with sealant, so less chance of flats due to small punctures.
- Lower rolling resistance
Those are most of the benefits, and they are pretty good ones in my opinion. However, there are some drawbacks. You need to continually monitor sealant levels, adding sealant every 3-6 months so that you don’t get a flat from lack of sealant. If you do get a flat that the sealant can’t fix, you can always put a tube in, but you will have a mess on your hands from the sealant in the tire. Setup is often more difficult, and sometimes can be quite a pain getting a tire/rim combo to set up tubeless. A compressor or special tubeless inflating pump is often required for initial set up. Also, I have found that tires need to be checked for proper inflation a bit more frequently, as air tends to leak out a little more quickly (although this is negligible for me, as I check my tires before every single ride, whether it’s a bike set up tubeless or not) – whereas in a tube set up you might lose 5 psi in a week, you might lose 8 or 10 in a tubeless setup. Also, some tubeless tires negate the weight savings by being heavier than their tubed counterparts, and sometimes do not provide the same quality of ride, whether in terms of suppleness or rolling resistance. Lastly, not all tires convert to tubeless if you are trying to convert a tire rather than use a tubeless-specific tire. Some are too porous, some do not have strong enough beads. And like not all tires convert, some rims do not convert, or at least not easily enough.
So there are a few cons:
- Sometimes difficult set up.
- Messy, sometimes at set up, and almost always when having to change in a tube.
- Need to check air pressure a little more frequently if you are particular about your tire pressure.
- Have to add more sealant regularly.
- Some tubeless tires are heavier and do not provide as good a ride.
- Some regular tires cannot be converted to tubeless, and some wheels do not convert.
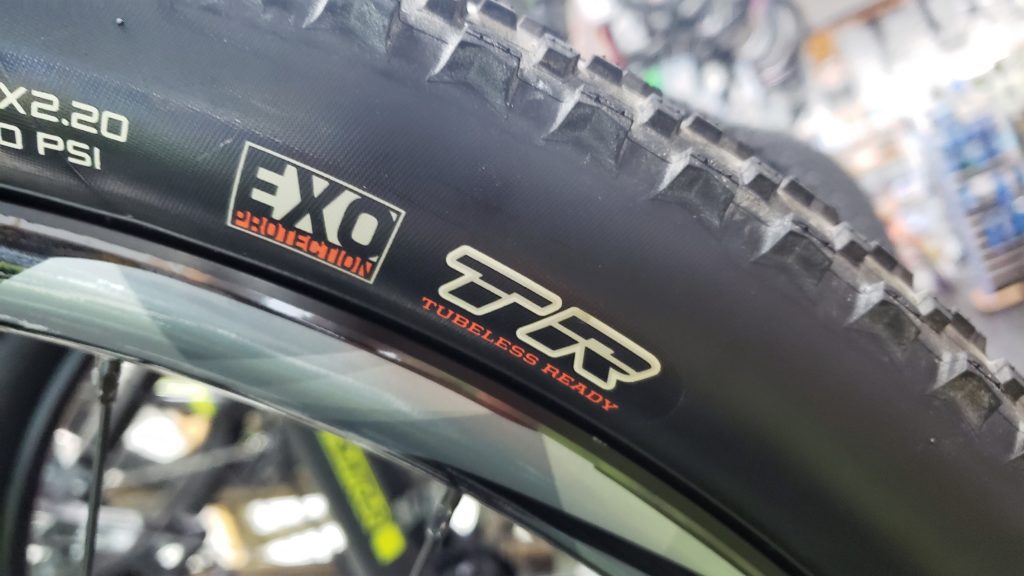
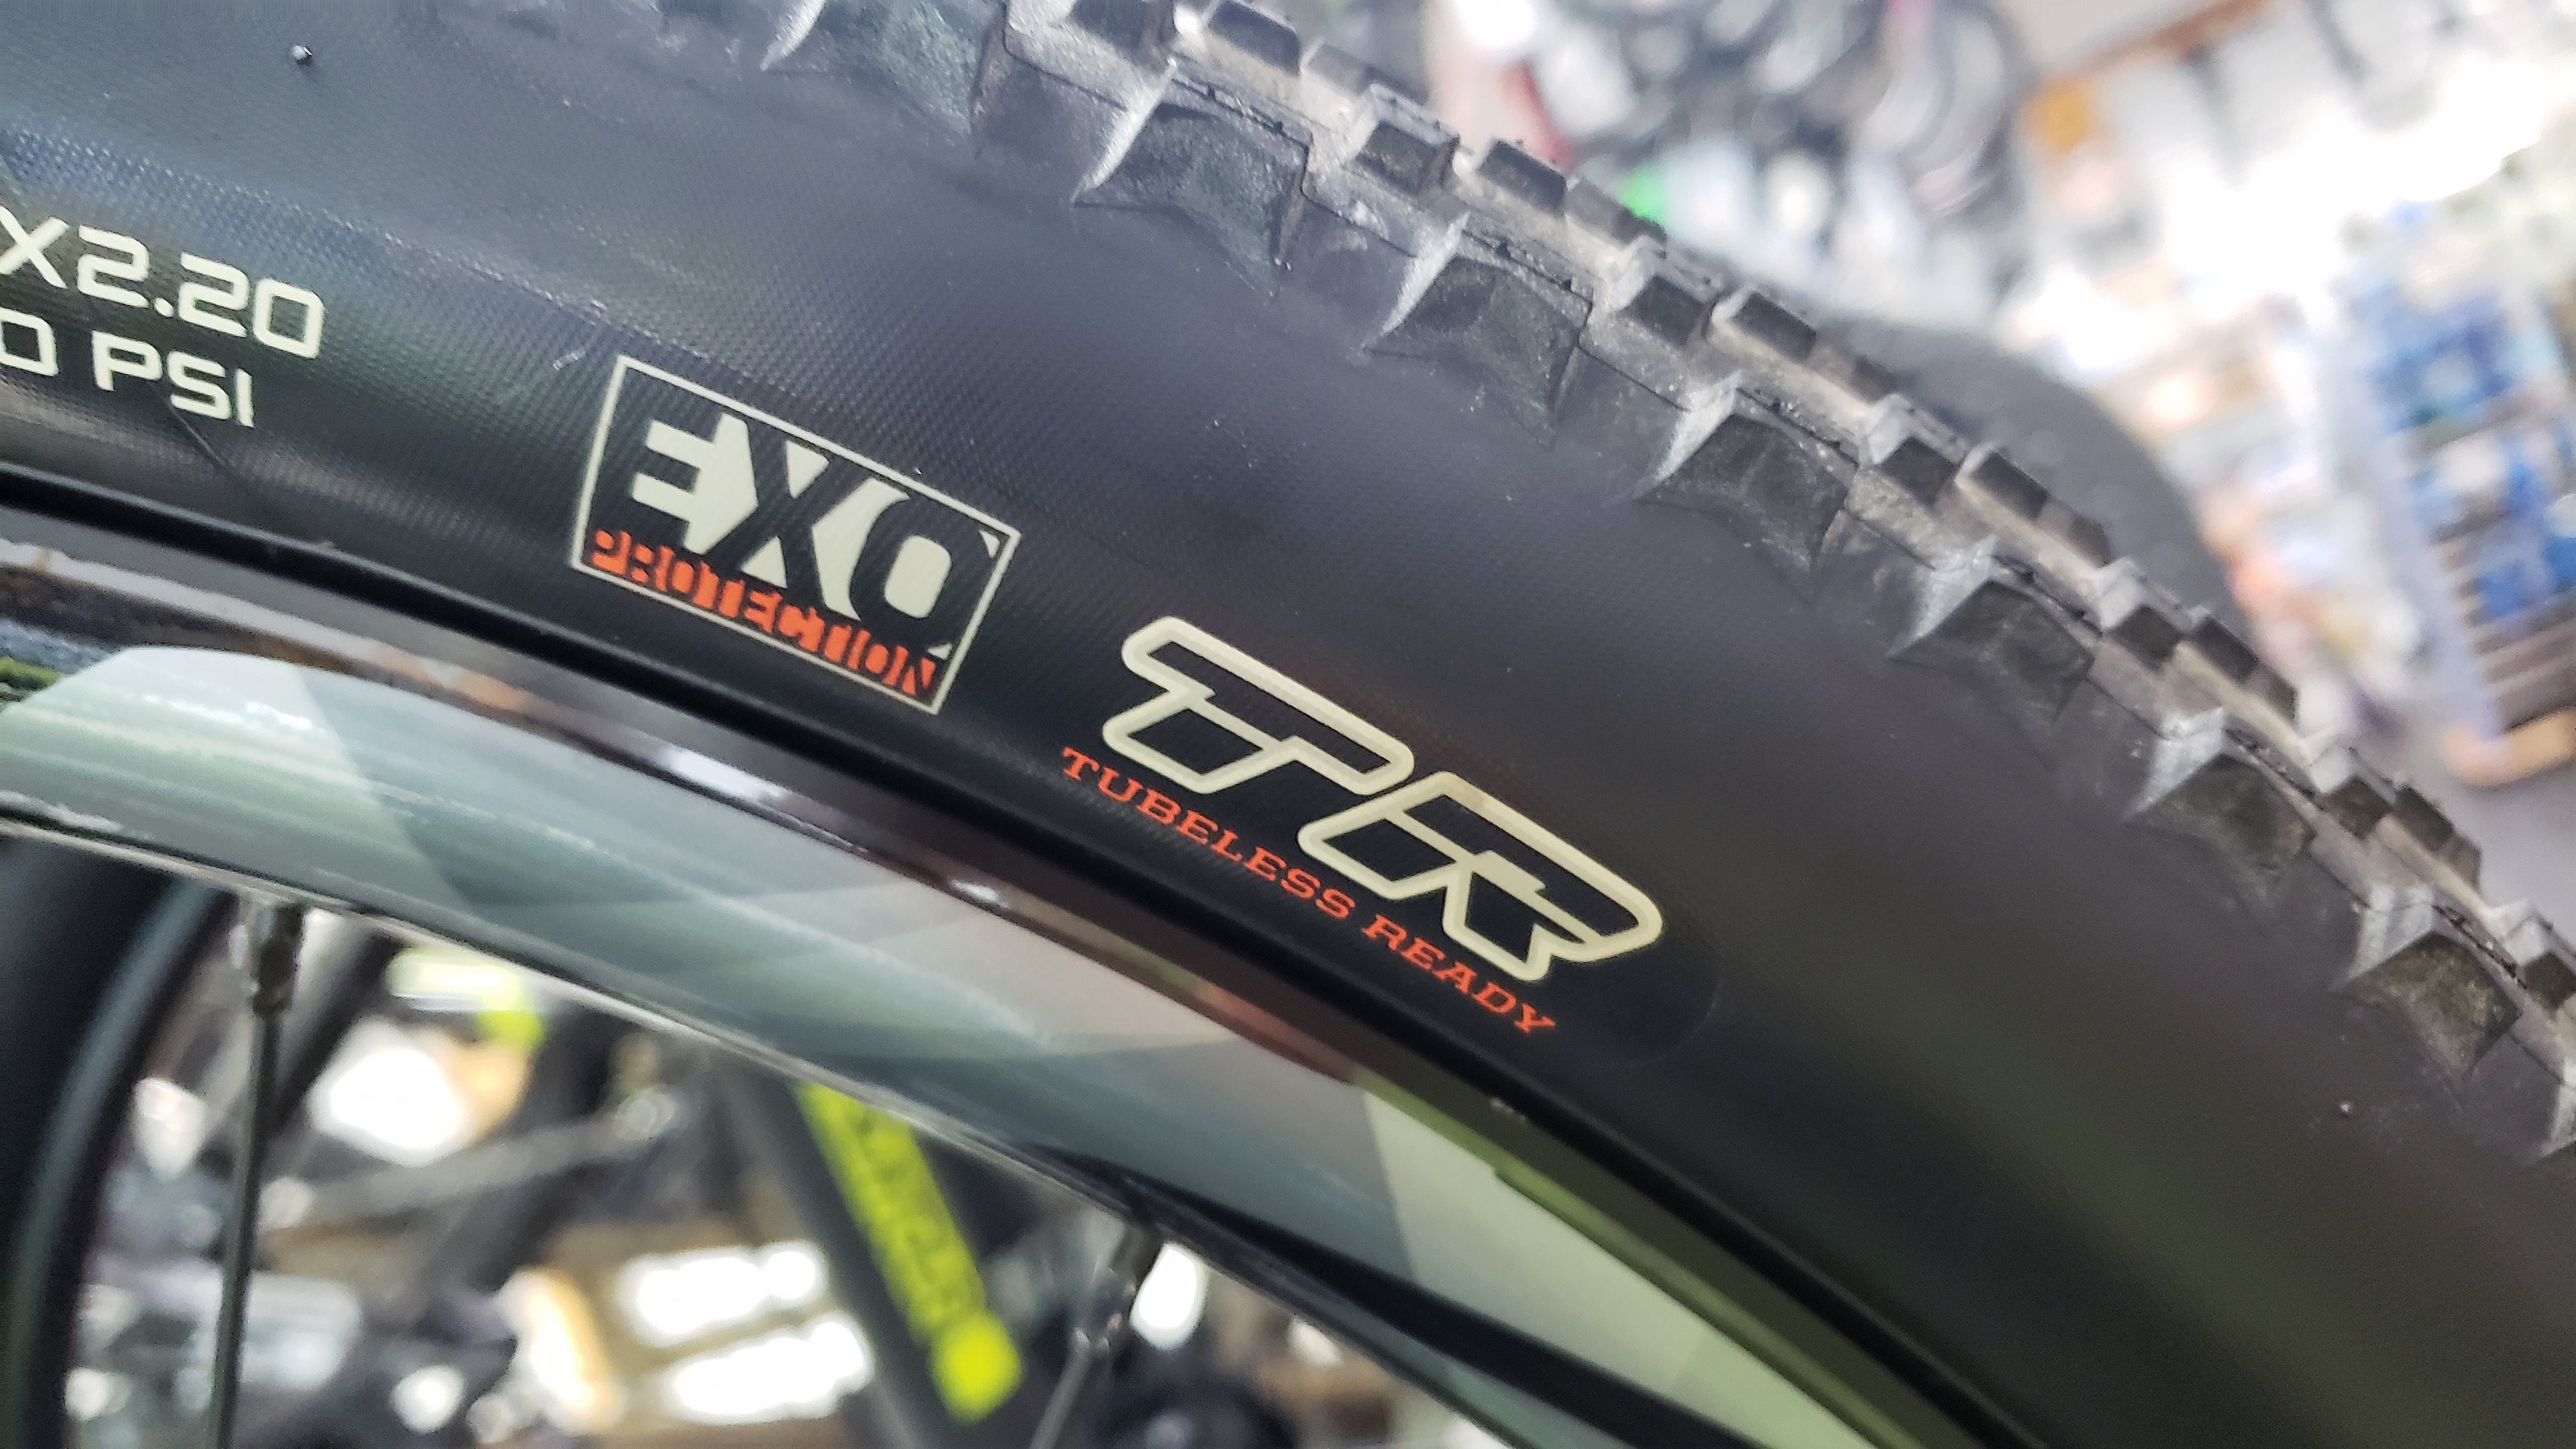
Now I will discuss what you will need to run your tires tubeless. The requirements differ between mountain bike and road bike tubeless setups. I’ll start with mountain bike setups, since that’s where tubeless tech first took off and has had more time to develop. Setting up a mountain bike tire tubeless often times needs very little: some tubeless tape to seal the rim bed from the spoke holes, a tubeless valve, and sealant. If a tire/rim combination really has a hard time setting up, you may need a rubber rim strip from Stan’s NoTubes, etc. Generally, since mountain bike tires can be converted rather easily, you don’t have to get new tubeless-specific tires or rims, even; you can just use what you already have. In fact, I have never made a point of making sure I got a tubeless-specific mountain bike tire, just got the model I wanted whether it was tubeless or not and ran it tubeless with no issues. Nowadays, though, mountain bike tires often come as tubeless-ready now rather than full tubeless. This means the bead is a true tubeless bead, but the casing is that of a regular tire. A true tubeless tire can hold air without sealant, but a tubeless-ready tire requires the sealant to become airtight. This enables the tire to save weight while having a stronger bead, so less chance of blow-offs.
For road bikes, the setup is similar but it does require the use of a tubeless-specific tire. The reason is the higher pressures that are used in road bike tires. A tire with a regular bead will blow off the rim when inflated to higher pressures without a tube. So you MUST use a tubeless-specific tire if you want to ensure your safety while riding. But today’s tubeless road tires have some very good options for low weight, suppleness, and ride quality. Otherwise, setup is similar, except that you’ll either need thicker rim tape or two layers of a thinner tape to keep air from getting out through the spoke holes. Again, if a rim was not designed specifically to be tubeless, it may require a rubber rim strip to work well.
Since setup can vary, depending on what you need, costs can vary, too. If you are wanting to run a mountain bike tubeless, you may be able to convert it for as little as $30-40 in tape, valves, and sealant (plus labor if you have us do it for you). But if you end up needing rubber strips and new tires, you can easily end up spending $2-300 by the time it’s all said and done, not to mention if you find out that, for whatever reason, the wheels you have just won’t work tubeless.
Having weighed the pros and cons, I have found the pros to win out. And so have many of our customers, many professional riders, and many manufacturers, which is why we have started to see even more tubeless setups recently. Manufacturers have started putting so much emphasis on their tubeless setups that they are not often offering better tires in tubeless form than standard. Road tubeless is really taking off now because they are finding they can make tires that ride just about as well as tubular tires, but are much easier for the average person to use since they are still a clincher and can be used on wheels that riders already own. (Tubulars have long been known for providing great ride quality, but they only work on tubular rims, and take a lot more effort to install than the average rider is willing to tolerate).
If you’d like to know more about your particular bike and setting it up tubeless, just stop on in and we will be happy to assist you!


Comments are closed